Over the last week I had been cleaning out the hive that had died over the winter so that it would be ready for the new bees. The lucky new arrivals would be taking advantage of the hard work of the bees from the previous year. I'm sure the new bees would be happy to see the frames of honey, pollen and bee bread waiting for them instead of a bunch of empty frames.
My friend Keith was getting a package of bees this year so we made the quick run to pick up the new packages of bees. The packages looked really nice and had very few dead bees on the bottom. The package seller even slammed the packages on the ground to knock the bees down so we could make sure the queen was alive in her cage. I went over to Keith's house and helped him install his package into his Top Bar hive. It went very quickly and I was soon home and ready to install my two packages.
White Hive:
This hive has the Honey Supercell frames in it. These are the fully formed, small-cell, plastic frames. So after removing some frames to make room, I popped open the package, pulled the queen cage, put it between the frames, slammed the package on the ground and dumped the bees in. I've stopped worrying about spraying them with sugar water or putting the lid back on the package after I've pulled the can of sugar syrup out or which end of the queen cage should be up or down. A lot of wasted effort I think.
Green Hive:
This hive has mostly foundationless frames. A majority of them have drawn comb with lots of honey. The problem with these frames is that the honey was put into large bulges of comb that extended well past the width of the frame. So after I removed the frames and dumped the bees in, I used my uncapping knife to saw the comb even with the frame. Of course this made honey ooze out all over the place but I figured the bees would be eager to clean it up.
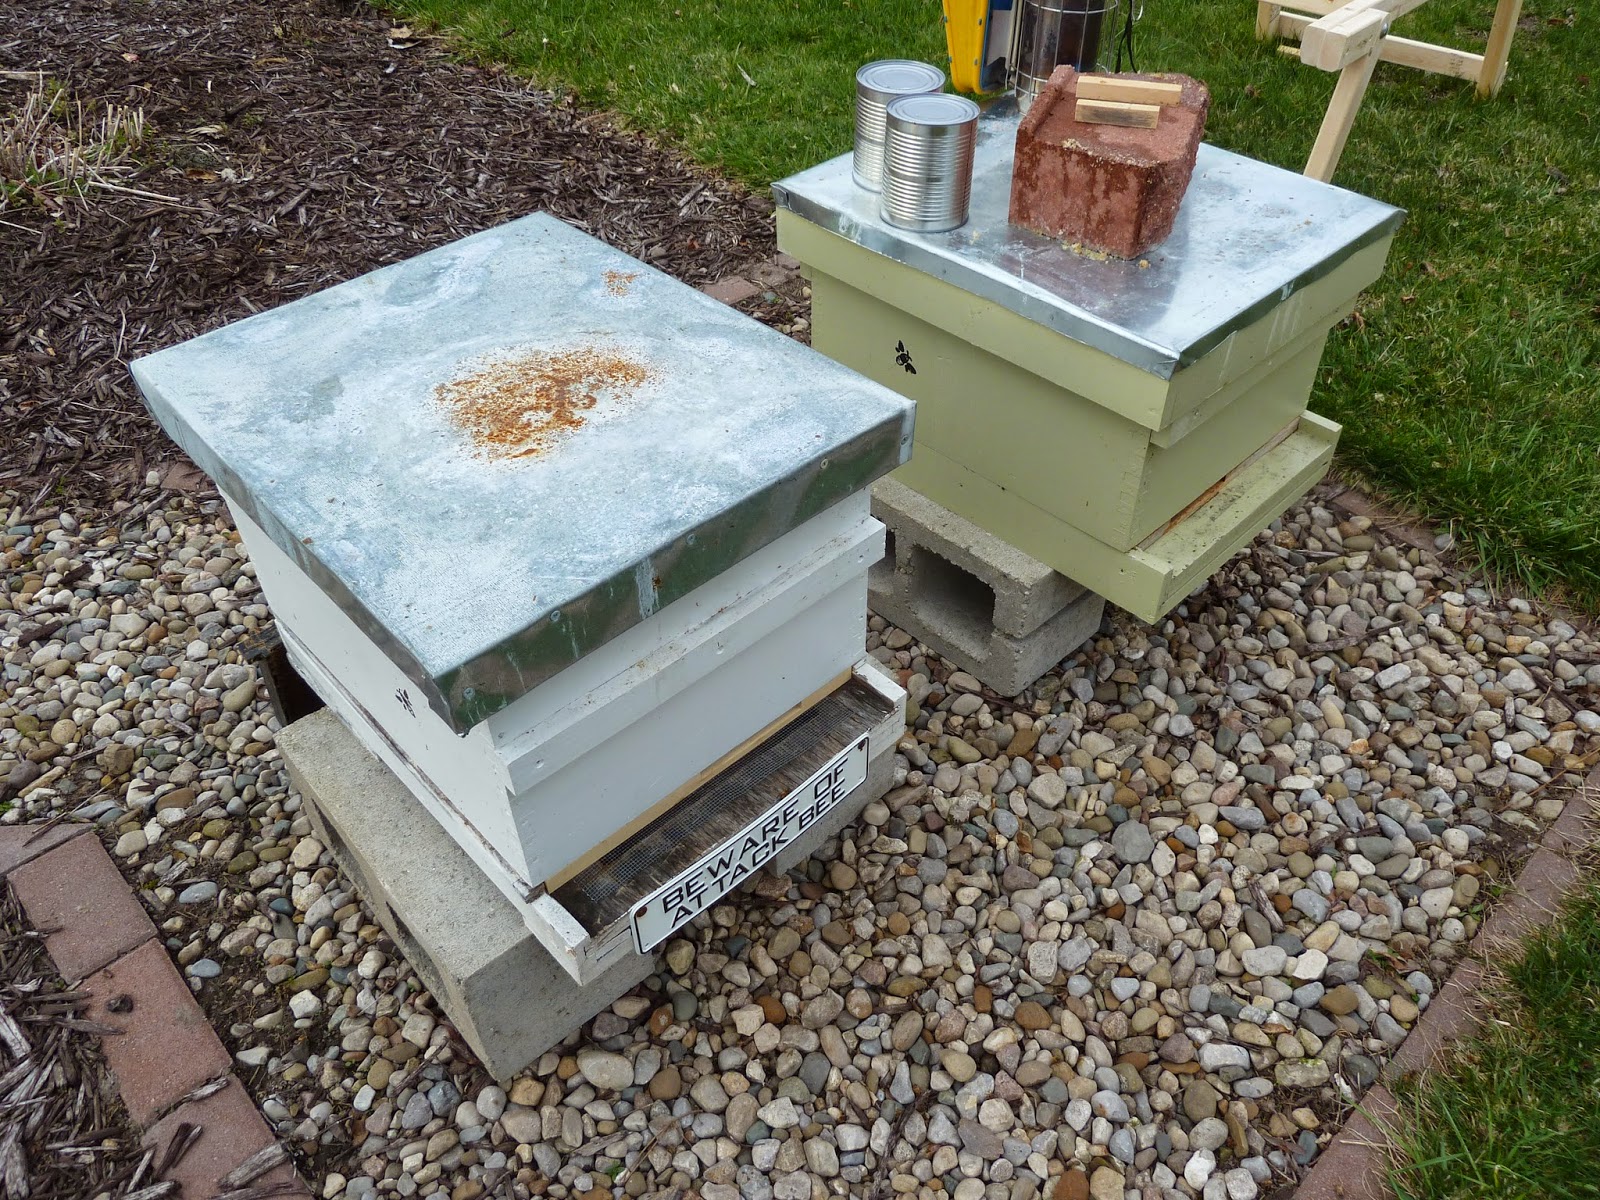 |
| Beware of Attack Bee |
Queen Release:
After three days I went out to make sure the queens had been released from their cages. When I pulled the cages the sugar plugs were almost completely eaten away! After I removed the queen cages I also had to remove all the comb that the bees had built in the extra space that the queen cage was occupying.

A few swipes with the hive tool and the excess comb was removed. Before adding the frames back in, I took a look for the queen and spotted her quickly.
 |
| Can you see the queen in the middle of this picture? |
Green Hive went very smoothly as well. Move the frames apart, pull the queen cage, check some frames for the queen (no luck spotting her this time) and push the frames back together. Done.
 |
| Plastic tab attached to the queen cage |
Everything is now good to go for the 2015 bee season!
Next inspection in about a week so that I can make sure the queens are laying eggs. Until then, thanks for reading!


